Python Jupyter + Cesium.js で 3D 地図が描きたい
Cesium.js とは
Web GL を利用して 3D 地図を描画する JavaScript ライブラリ。かなり多機能で様々な見せ方ができるようだ。詳しく知りたい方は公式サイトの Demos を見ればいい。
これを Jupyter Notebook に埋め込んで使いたい。Cesium.js には Python の wrapper などはないため、直接 JavaScript を書いて使う。従って、利用できる機能に差異はない。このエントリでは Cesium.js の機能の詳細には触れず、Jupyter に関係する内容のみ記載する。
具体的なやり方はこちらと同じ。
データの準備
先日のエントリで作成した、 アメリカの国立公園 のデータを使う。
以降、すべて Jupyter Notebook 上で行う。先のエントリで処理済みのデータは df 変数に入っているとする。
import numpy as np
np.__version__
# '1.10.2'

import pandas as pd
pd.__version__
# u'0.17.1'

df
# 略
Cesium.js の利用
まずは必要な JavaScript と CSS を読み込む。
2016/01/05 CSS のパスが誤っていたため修正
%%html
  <script src="https://cesiumjs.org/Cesium/Build/Cesium/Cesium.js"></script>
  <link rel="stylesheet" href="http://cesiumjs.org/Cesium/Build/Cesium/Widgets/widgets.css" type="text/css">
Jupyter 上に HTML を直接 書いて、 Cesium.js がロードできるか確かめる。うまくいっていれば以下のような全球地図が表示され、インタラクティブに操作ができる。
%%html
  <div id="container1" style="width:100%; height:100%;"></div>
  <script type="text/javascript">
    var widget = new Cesium.CesiumWidget('container1');
  </script>
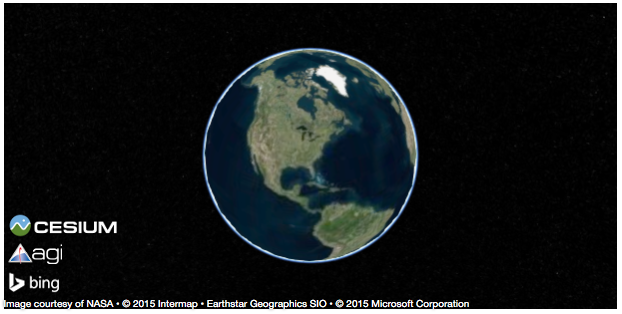
Cesium 上に何かを描画する場合は Viewer クラスを使うのが良いようだ。 Viewer は上で利用した CesiumWidget クラスに加え、画面をコントロールするための多くのメニューを持つ。各メニューの表示 / 非表示はオプションで切り替えられる。それぞれの意味は以下のドキュメントを。
ここでは、以下の2つを除いて無効にした (既定では有効)。
animation: 画面左下、製造元リンクがsceneModePickerに被らないようにするために有効化sceneModePicker: 地図の投影方式を選択するために有効化
options = dict(animation=True, baseLayerPicker=False, fullscreenButton=False,
               geocoder=False, homeButton=False, infoBox=False, sceneModePicker=True,
               selectionIndicator=False, navigationHelpButton=False,
               timeline=False, navigationInstructionsInitiallyVisible=False)

import json
json.dumps(options)
# '{"geocoder": false, "fullscreenButton": false, "timeline": false,
#   "baseLayerPicker": false, "sceneModePicker": true, "navigationHelpButton": false,
#   "infoBox": false, "animation": true, "homeButton": false, "selectionIndicator": false, #   "navigationInstructionsInitiallyVisible": false}'

template = """
  <div id="{container}" style="width:90%; height:90%;"></div>
  <script type="text/javascript">
    var viewer = new Cesium.Viewer('{container}', {options});
    {script}
  </script>
"""
t = template.format(container='container2', options=json.dumps(options), script='')

from IPython.display import HTML
HTML(t)
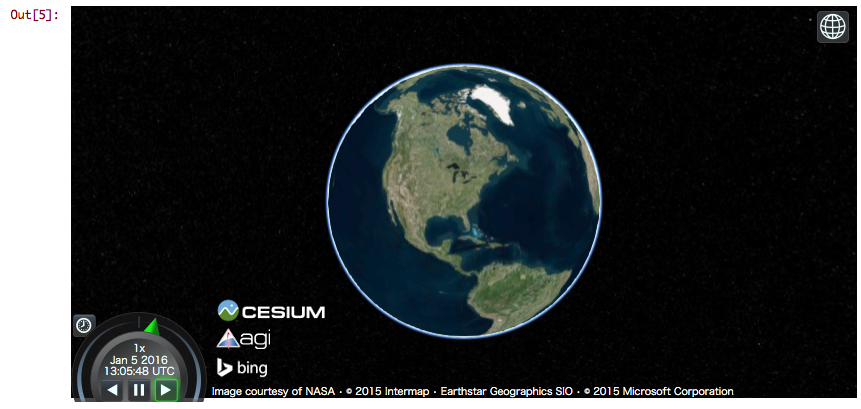
この地図上に 3D 棒グラフを描きたい。
まず、円柱 ( cylinder ) を一つだけ描画してみる。描画する位置は Cesium.Cartesian3.fromDegrees で指定する。この座標は 地面 (円柱底面) ではなく 円柱中央の座標のため、円柱の長さに合わせて位置を調整する必要がある。具体的には、Cartesian3.fromDegreesの 3 要素目 ( center ) を長さ ( length ) の 1/2 とすればよい。
script = """
    viewer.entities.add({{
    name : 'Cylinder',
    position: Cesium.Cartesian3.fromDegrees({lon}, {lat}, {center}),
    cylinder : {{
        length : {length},
        topRadius : 100000,
        bottomRadius : 100000,
        material : Cesium.Color.AQUA.withAlpha(0.5),
    }}
}});"""

t = template.format(container='container3', options=json.dumps(options),
                    script=script.format(lon=-110, lat=50, length=4000000, center=2000000))
HTML(t)
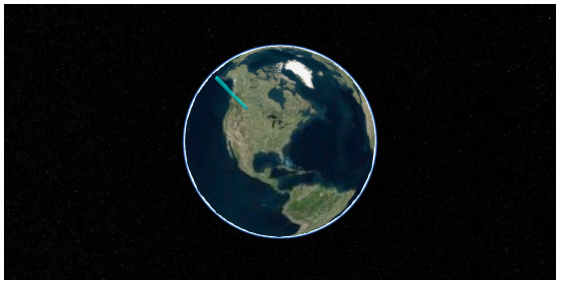
うまくいっているようだ。地図の回転、拡大縮小に円柱も追従している。
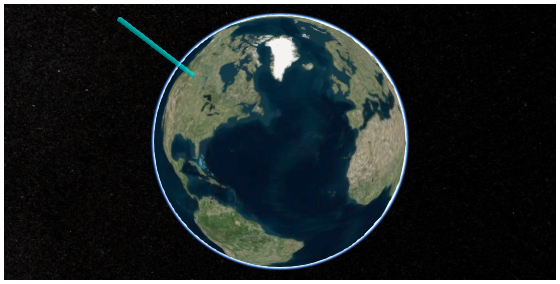
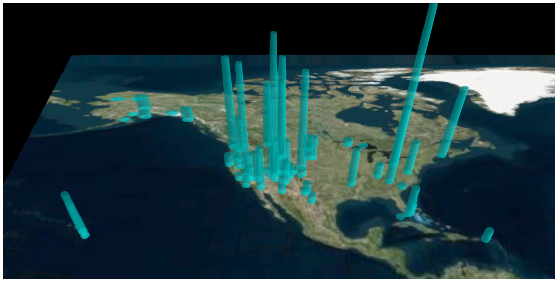
3D 棒グラフを描くには 上の処理をレコード数分繰り返せばよい。先日と同じく、各国立公園の 2014 年の入園者数を円柱の長さとしてプロットする。
scripts = []
for i, row in df.iterrows():
    l = row['Recreation Visitors (2014)[5]']
    scripts.append(script.format(lat=row['lat'], lon=row['lon'], length=l, center=l / 2.))

scripts = ''.join(scripts)

t = template.format(container='container4', options=json.dumps(options), script=scripts)
HTML(t)
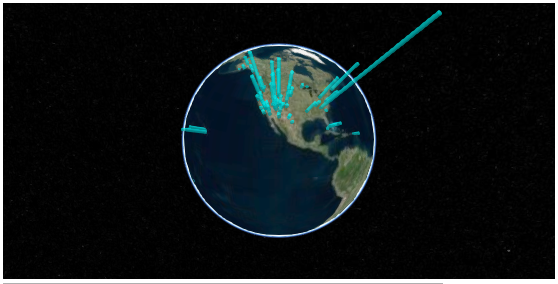
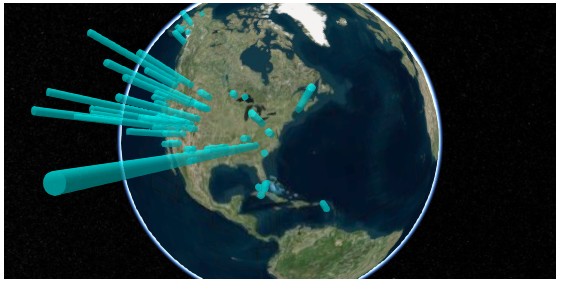
sceneModePicker のアイコンをクリックすると、平面上に地図が投影される。
まとめ
Jupyter Notebook 上に Cesium.js の 3D 地図を埋め込む方法を記載した。また、埋め込んだ地図上に Python で準備したデータを使って オブジェクトを追加した。
Cesium.js、触っていて楽しいし、少し面白い見せ方をしたい時に使えそうだ。
2016/01/21追記 パッケージを書いた

インタラクティブ・データビジュアライゼーション ―D3.jsによるデータの可視化
- 作者: Scott Murray,長尾高弘
- 出版社/メーカー: オライリージャパン
- 発売日: 2014/02/19
- メディア: 大型本
- この商品を含むブログ (3件) を見る